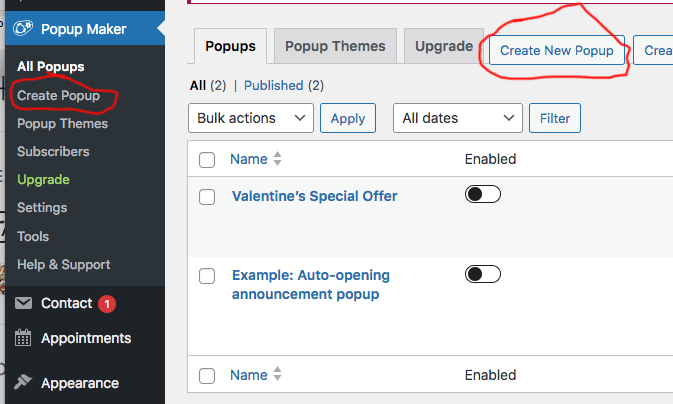
In the Popup Maker section, you can create a new popup by clicking the “Create Popup” button, either in the left column, or in the All Popups section as indicated below:
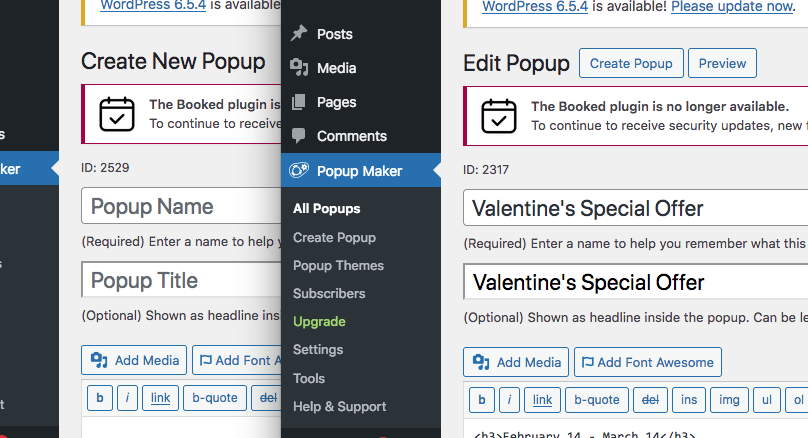
Fill in the Popup Name (which only you see) and Popup Title (which is what the public sees). I usually just make them the same:
Next, in the body text of the popup you can add your content, by default it shows you the code or “Text” tab:
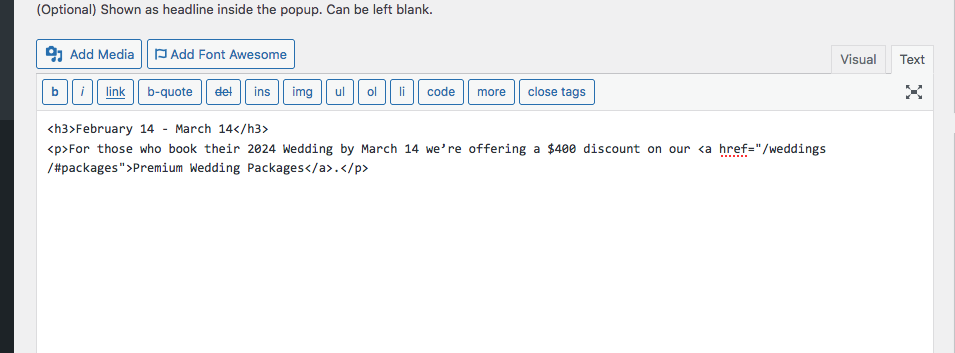
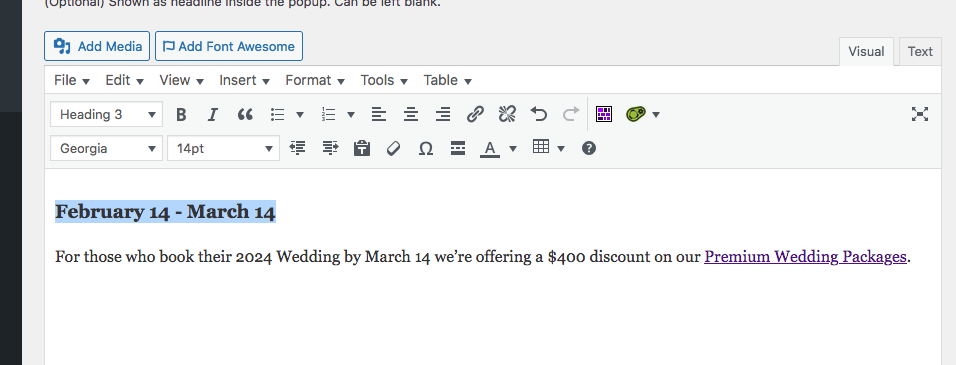
But you might find it easier to switch to the “Visual” tab. I like to use an H3 header followed by a paragraph:
Now you need to customize the settings, I will show you how I like to set it up. This is how the Settings section looks:
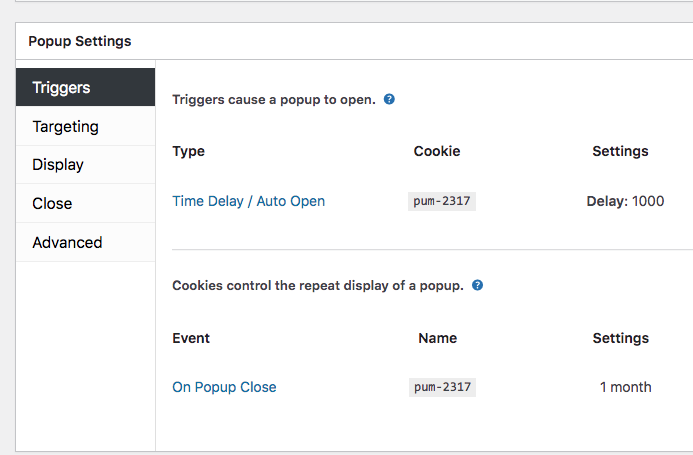
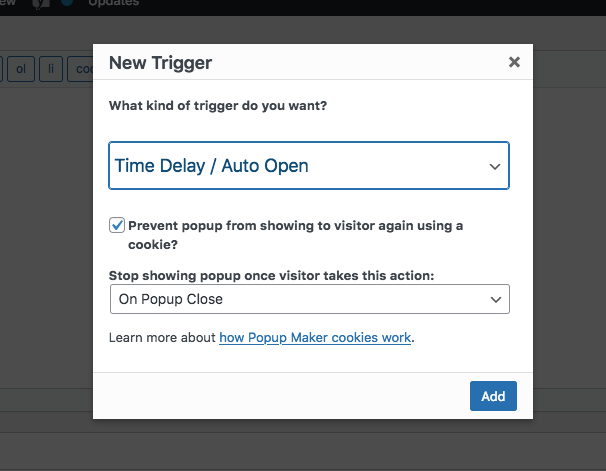
In the “Triggers” setting, here is how I set it up so that the popup will open automatically after a short delay, a cookie will be created to only show the popup once within your specified time period and the cookie is written after the popup is closed:
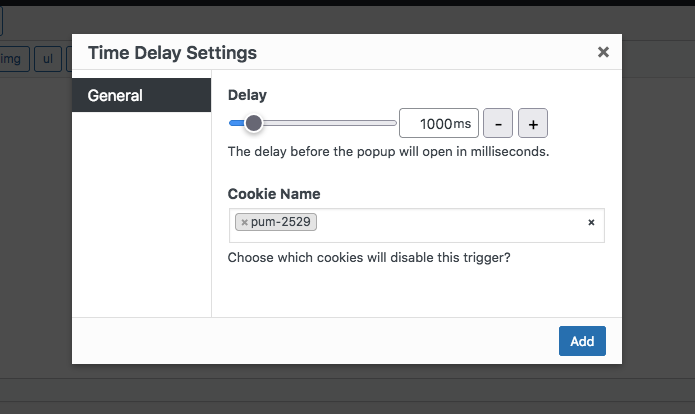
The time delay settings are not critical, but I like a little bit of delay:
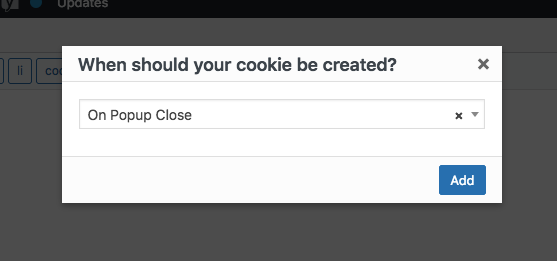
Cookie created on Popup close is usually the best option:
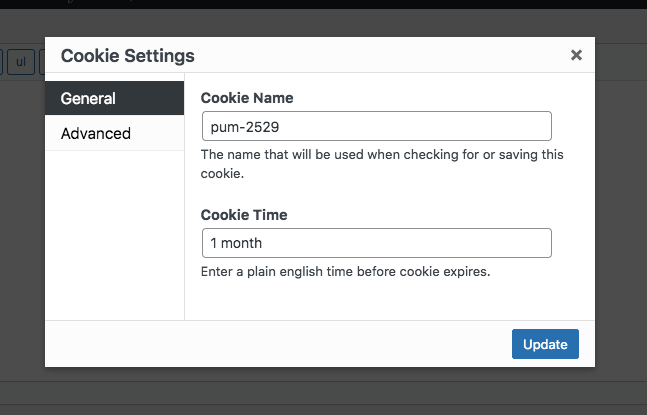
The cookie name is automatic and doesn’t need customizing. Cookie Time of one month is pretty common, but you might make it shorter if your announcement needs to be seen more often as a reminder, so you could make it as short as one day.
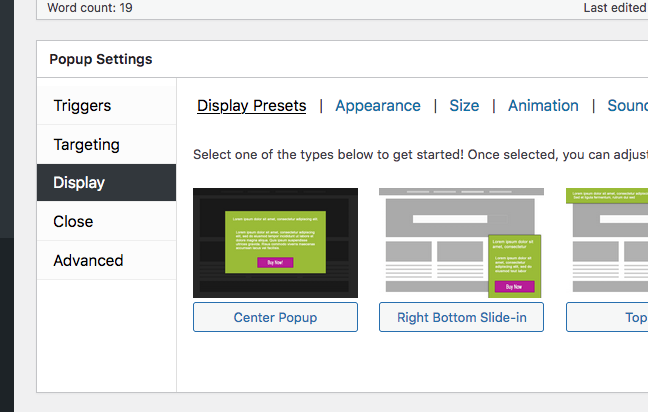
Some of the Display settings I keep as default, but I like to choose the Center Popup option:
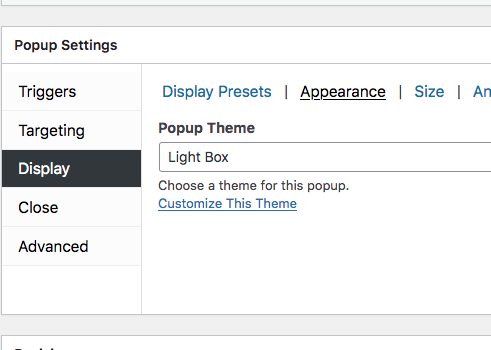
The Light Box theme seems to be a very common appearance of popups and I like it:
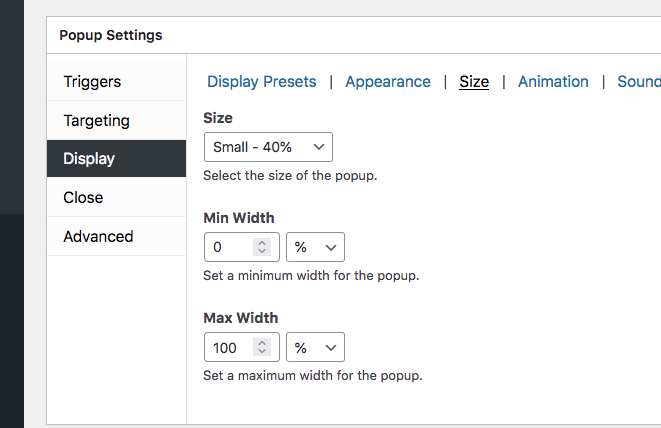
The size I lean towards is Small, but preview it and adjust if needed:
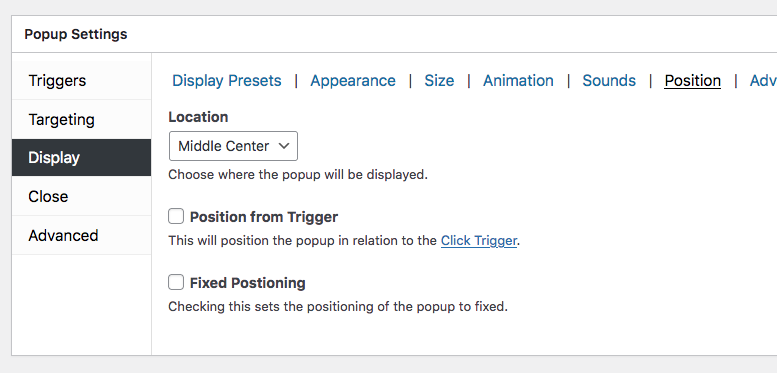
Position of Middle Center usually works best:
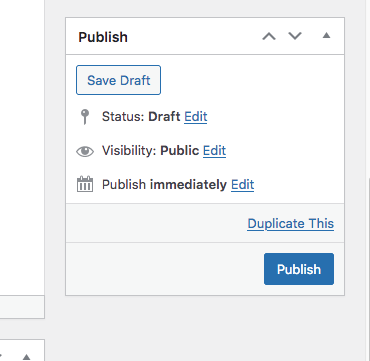
That’s it, just click publish and test your popup. If you want to test multiple times, view the site in a Private browser window which means your cookie from the previous test won’t be used:
